How to Fix the DNS_PROBE_FINISHED_NXDOMAIN Error
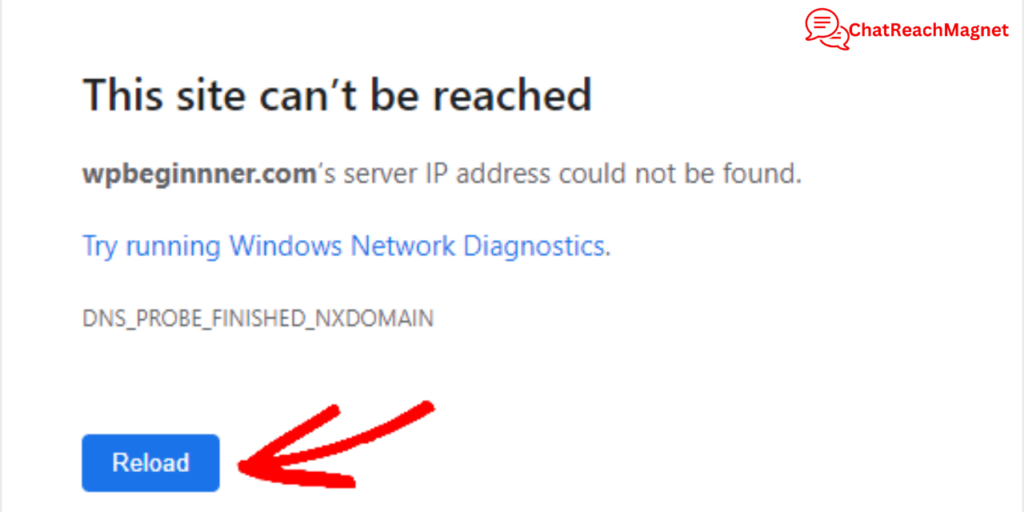
One of the most frustrating things that can happen while browsing the internet is coming across the dreaded error message: “DNS_PROBE_FINISHED_NXDOMAIN.”
It can give you a headache as it prevents you from accessing websites, disrupting your entire browsing experience.
If you’ve found yourself stuck in this situation, you’re not alone. This error is not only common but can occur for several reasons, ranging from problems with your DNS settings to network configuration issues.
Fortunately, this issue is fixable, and in this post, we will guide you through several methods to resolve it effectively.
What Is the DNS_PROBE_FINISHED_NXDOMAIN Error?

Before looking into the solutions, it’s necessary to understand what the “DNS_PROBE_FINISHED_NXDOMAIN” error means.
“DNS” stands for Domain Name System, which is like the internet’s phonebook. When you type a web address (such as www.chatreachmagnet.com) into your browser, the DNS translates that address into a corresponding IP address, which allows your browser to access the website.
If something goes wrong with this process, you might encounter the error “DNS_PROBE_FINISHED_NXDOMAIN,” which essentially means that your browser cannot find the IP address for the domain you are trying to access.
The “NXDOMAIN” part of the error refers to a “Non-Existent Domain,” indicating that the DNS lookup failed because the domain cannot be found.
Common Causes of DNS_PROBE_FINISHED_NXDOMAIN Error
There are several reasons why this error might appear. Some of the most common causes are outlined below:
- Incorrect DNS Settings: Your DNS server settings may be misconfigured or outdated.
The DNS (Domain Name System) is responsible for translating domain names into IP addresses, so if the DNS settings are incorrect, your browser won’t be able to resolve the domain and connect to the website.
This misconfiguration can occur when you manually set your DNS servers, or after a system update or network change.
- Corrupted DNS Cache: Sometimes, a corrupted DNS cache can lead to DNS errors. Your computer stores information about previous websites you’ve visited in the form of a DNS cache.
While this speeds up loading times, it can also cause problems if the cache contains outdated or corrupted entries.
When your browser attempts to connect to a site, it might use the wrong information from this cache, leading to the DNS_PROBE_FINISHED_NXDOMAIN error.
- Faulty Network Configuration: Issues with your internet connection, such as a misconfigured router or modem, can interfere with DNS resolution.
Network misconfigurations can prevent your system from properly communicating with your ISP’s DNS servers or any other DNS provider.
Common issues include incorrect IP settings, faulty network adapters, or conflicts between devices on your network. If your router is not set up correctly or needs a firmware update, it can disrupt DNS functionality.
- Domain Does Not Exist: In some cases, the error might occur if the website you are trying to visit is no longer active or available. If a website has been taken down or the domain name has expired, DNS requests to that domain will fail.
The error can also happen if you type the wrong domain name into the browser, as it will attempt to resolve a non-existent domain.
- Issues with Your ISP: Occasionally, your internet service provider (ISP) may be experiencing problems with DNS resolution.
ISPs maintain their own DNS servers, and if they are experiencing issues (due to server outages, maintenance, or configuration problems), it can cause DNS errors for users.
If your ISP’s DNS servers are slow, unreliable, or down, you might encounter the DNS_PROBE_FINISHED_NXDOMAIN error when trying to access certain websites.
How to Fix the DNS_PROBE_FINISHED_NXDOMAIN Error
Now that you know what the error is and some of its causes, let’s explore several effective ways to resolve it.
#1. Clear Your Browser Cache
The first step in fixing this error is to clear your browser cache. Cached files can sometimes become corrupted, leading to DNS errors.
Clearing the cache ensures that your browser fetches fresh data from the website, which could solve the issue.
How to Clear the Cache in Google Chrome:
- Open Google Chrome.
- Press Ctrl + Shift + Delete (Windows) or Cmd + Shift + Delete (Mac).
- In the “Clear browsing data” window, select “All time” in the time range dropdown.
- Ensure that the “Cached images and files” option is checked.
- Click “Clear data.”
Once the cache is cleared, try accessing the website again to see if the error is resolved.
#2. Flush the DNS Cache
Flushing your DNS cache can help if the stored DNS records are outdated or corrupted.
This is a straightforward process and can be done via the Command Prompt (on Windows) or Terminal (on macOS).
How to Flush the DNS Cache on Windows:
- Open the Start menu and type “cmd” or “Command Prompt.”
- Right-click on “Command Prompt” and select “Run as administrator.”
In the Command Prompt window, type the following command:
bash
Copy code
“ipconfig /flushdns”
- Press Enter.
How to Flush the DNS Cache on macOS:
- Open the “Terminal” application (you can search for it in Spotlight).
- Type the following command and press Enter:
Copy code
sudo killall -HUP mDNSResponder - Enter your administrator password when prompted.
After flushing the DNS cache, try loading the website again to see if the error is gone.
#3. Change Your DNS Server
If the problem is related to your DNS server, switching to a different DNS provider might resolve the issue. Popular public DNS servers like Google’s DNS and Cloudflare’s DNS are known for their reliability and speed.
How to Change DNS Settings on Windows:
- Right-click on the Start menu and select “Network Connections.”
- Click on “Change adapter settings.”
- Right-click on your active network connection and select “Properties.”
- Scroll down to “Internet Protocol Version 4 (TCP/IPv4)” and select it.
- Click “Properties” and select the “Use the following DNS server addresses” option.
- Enter the following DNS addresses:
Google DNS:
Preferred DNS server: 8.8.8.8
Alternate DNS server: 8.8.4.4
Cloudflare DNS:
Preferred DNS server: 1.1.1.1
Alternate DNS server: 1.0.0.1
- Click “OK” and restart your computer.
How to Change DNS Settings on macOS:
- Click the Apple menu and go to “System Preferences.”
- Select “Network.”
- Choose your active connection (Wi-Fi or Ethernet) and click “Advanced.”
- Click the “DNS” tab and remove any existing DNS servers.
- Add the new DNS servers by clicking the “+” button and entering the following addresses:
Google DNS: 8.8.8.8 and 8.8.4.4
Cloudflare DNS: 1.1.1.1 and 1.0.0.1
- Click “OK” and then “Apply.”
After changing the DNS server, check if the DNS_PROBE_FINISHED_NXDOMAIN error persists.
#4. Disable Your VPN or Proxy Server
If you are using a VPN or proxy server, it might be causing interference with your DNS requests. Disabling your VPN or proxy can help resolve the issue.
- Disable VPN: Simply disconnect from your VPN service and check if the website loads without the error.
- Disable Proxy: On Windows, go to “Settings” > “Network & Internet” > “Proxy” and disable any proxy settings. On macOS, go to “System Preferences” > “Network” > “Advanced” > “Proxies” and uncheck any active proxies.
Once your VPN or proxy is disabled, try accessing the site again.
#5. Reset TCP/IP Stack
If none of the above methods work, you might want to reset your TCP/IP stack, which can help fix networking issues caused by corrupted configurations.
How to Reset TCP/IP on Windows:
- Open the Command Prompt as administrator (right-click on “Command Prompt” and select “Run as administrator”).
Type the following command and press Enter:
perl
Copy code
netsh int ip reset
- Restart your computer.
This command will reset your network configuration to its default state, which may resolve DNS-related issues.
#6. Check Your Hosts File
The hosts file on your computer maps domain names to IP addresses. If it contains incorrect entries, it can block your access to websites, leading to the DNS_PROBE_FINISHED_NXDOMAIN error.
How to Check the Hosts File on Windows:
- Open Notepad as administrator (right-click Notepad and select “Run as administrator”).
In Notepad, open the following file:
makefile
Copy code
C:\Windows\System32\drivers\etc\hosts
- Check the file for any unusual entries or domains that may be blocking your access. Delete any suspicious entries and save the file.
How to Check the Hosts File on macOS:
- Open the Terminal application.
Type the following command to edit the hosts file:
bash
Copy code
sudo nano /etc/hosts
- Look for any entries that might be blocking the domain you are trying to visit. Delete them and save the file.
After making these changes, restart your computer.
#7. Check for Malware
Sometimes, malware or malicious software can interfere with your DNS settings and cause DNS errors. Running a malware scan on your system could help resolve this.
Use trusted antivirus software to run a full system scan and remove any potential threats that might be affecting your network settings.
#8. Contact Your Internet Service Provider
If you’ve tried all the steps above and the error persists, it might be an issue with your ISP’s DNS servers.
Contacting your ISP for assistance is a good idea, as they may be able to identify and resolve any DNS server problems on their end.
Conclusion
The DNS_PROBE_FINISHED_NXDOMAIN error can be incredibly frustrating, but with the methods outlined above, you should be able to fix it and get back to browsing without interruptions.
Whether it’s clearing your cache, flushing the DNS, or changing your DNS server, these steps offer effective solutions to resolve the issue. If all else fails, contacting your ISP might be the next best step.
Hopefully, you now have the tools to fix this error and prevent it from disrupting your browsing experience in the future.


Pingback: 6 Steps To Create A WhatsApp Broadcast List